马上注册,结交更多同行朋友,交流,分享,学习。
您需要 登录 才可以下载或查看,没有帐号?注册

x
Moldex3D Designer BLM mode is designed to help designers enhance mesh quality with less complex and faster workflow. The BLM technology can generate high quality meshes for parts, runners and cooling systems to minimize human effort and maximize simulation accuracy. Follow the steps below to learn how to leverage the efficiency brought by DesignerBLM. Step 1: Import Model 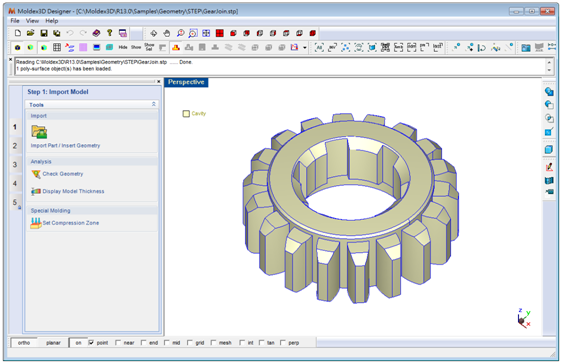
Click  in Step 1 to verify the quality of geometry. If the geometry quality is poor, you could fix geometry either with your own CAD software or, in this case, with CADdoctor embedded in Moldex3D Designer. in Step 1 to verify the quality of geometry. If the geometry quality is poor, you could fix geometry either with your own CAD software or, in this case, with CADdoctor embedded in Moldex3D Designer.
In this example, there are tiny edges within the geometry. 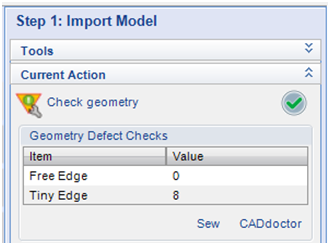
Click “ CADdoctor “ to fix the geometry. 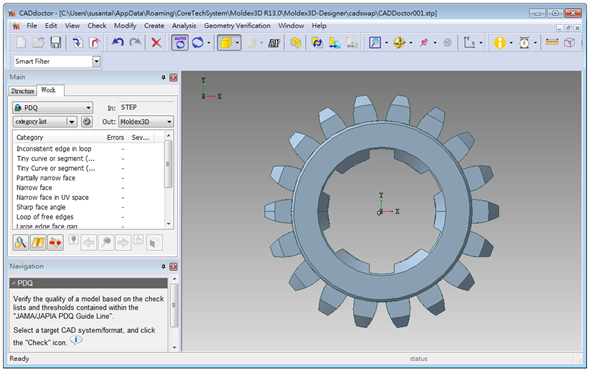
Follow the auto fix steps as shown below to fix the geometry. 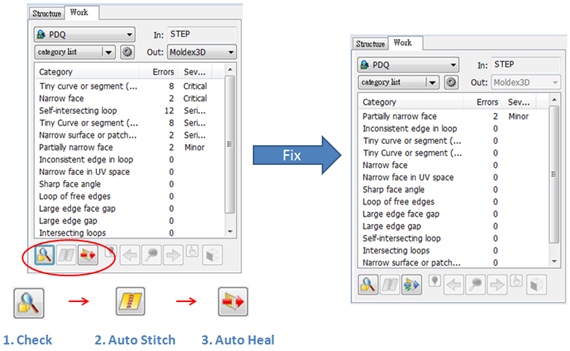
Export the fixed geometry and get back to Designer. Go to the next step to build runner system. 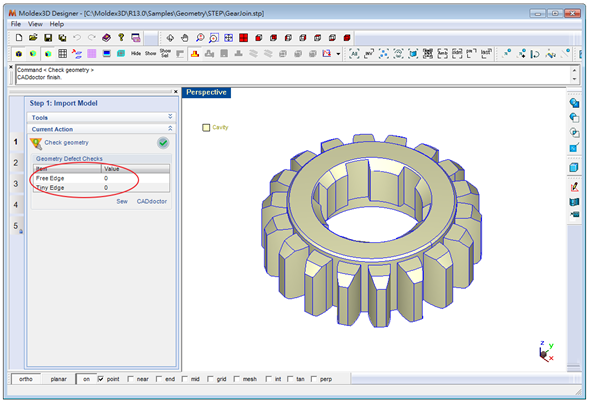
Step 2: Build Runner System
Use wizards to build your runner system. 
Step 3: Specify Cooling System
Use wizards to specify your cooling system. After creating the mold base, cooling channels, and inlet/outlet, click Check Cooling Channel to ensure the layout of your cooling system. 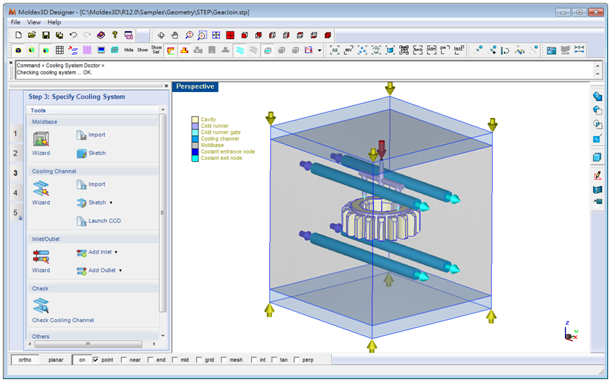
Step 4: Generate Solid Mesh
Click Generate (Meshing > Generate) to enter option panel. 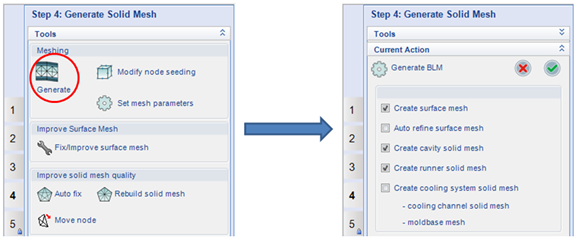
The default options are about to create surface mesh, cavity solid mesh, and runner solid mesh. Keep, clear, or check the options to meet your needs before clicking  to activate meshing. In this example, solid mesh for cooling system is required. to activate meshing. In this example, solid mesh for cooling system is required. Note:
(1) If you wish to run a fast cool analysis, make sure no to create solid mesh for cooling system. Create surface mesh for cooling system to run a fast cool analysis.
(2) If you are going to run advanced cooling analysis, check Create cooling system solid mesh. 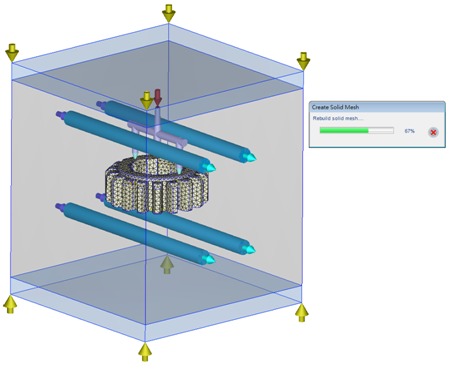
Solid mesh of cavity, runner system, and cooling system has completed. 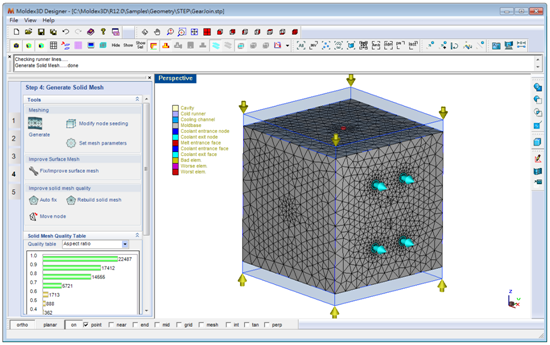
Step 5: Click Save Mesh File to export mesh file 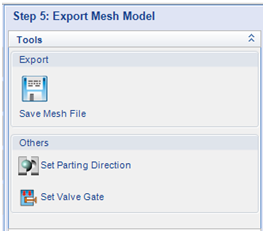
A message dialog will pop up after mesh file is saved successfully. 
 该贴已经同步到 新锐的微博 该贴已经同步到 新锐的微博 |