练习 - 放置零件明细表(一)
练习 - 放置零件明细表
概述
本次练习演示了在图纸页上放置装配零件明细表的过程。
课程目标
在工程图纸上放置装配零件明细表。

练习
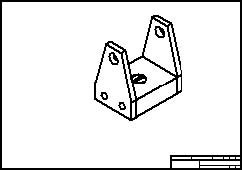
第1步:打开C:/Fundamentals/Parts文件夹下的carrier.dtf。
第2步:如果Drawing Views(图纸视图)对话框提醒存在过时的图纸视图,点击OK(确定)。
选择Update Views(更新视图)命令。
第3步:打开自动零件标号选项。
在Tables(表格)组中,选择Parts List(零件明细表)命令 。
点击图纸视图。
在Parts List(零件明细表)命令栏上点击Auto-Balloon(自动零件标号)按钮,开启Auto-Ballooning(自动零件标号)功能。
第4步:设置零件明细表的文本大小和字体属性。
在Parts List(零件明细表)命令栏上点击Properties(属性)按钮。
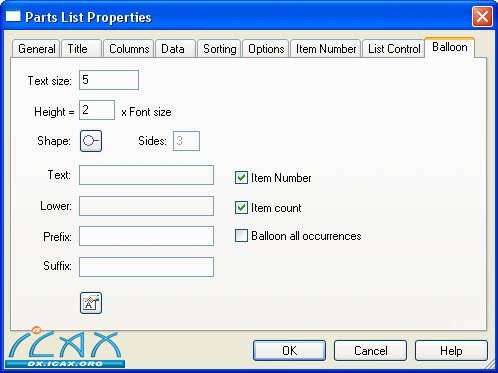
点击Balloon(零件标号)页。在Text Size(文本大小)中输入5。使用默认的零件标号形状。图示设置将添加包含项目编号和数量的零件标号。
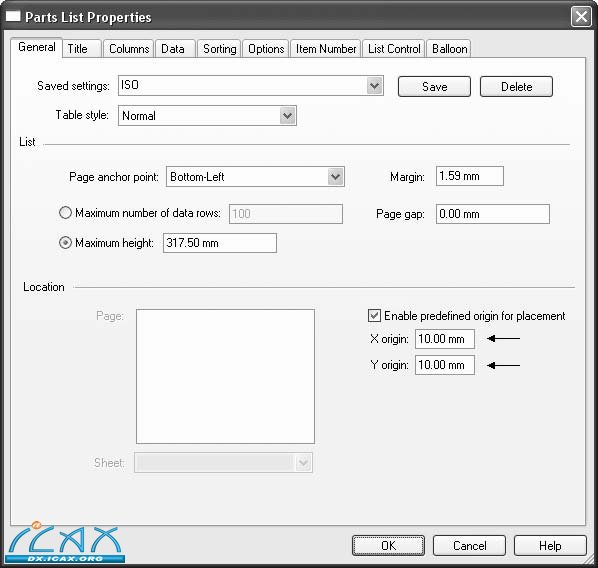
第5步:定义零件明细表的位置。
点击General(常规)页。
在Location(位置)字段中,在X origin:(起点X坐标:)字段和Y origin:(起点Y坐标:)字段中输入10。
选择Enable predefined origin for placement(在放置时使用预定义起点)。由此可固定零件明细表相对于工程图纸左下角的偏置距离。
第6步:定义零件明细表的列。
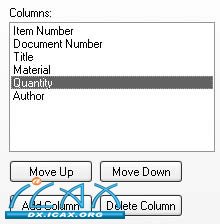
点击Columns(列)页。
在Properties(属性)列表中选择Author(制图人),然后点击Add Column(添加列)按钮将该列加入列的列表。
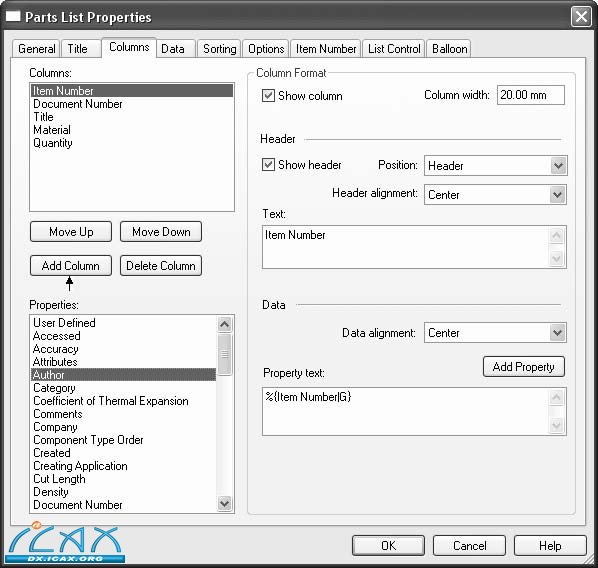
在Columns(列)列表中点击Quantity(数量)。
在Column Format(列格式)下的Text:(文本:)字段中输入QTY。
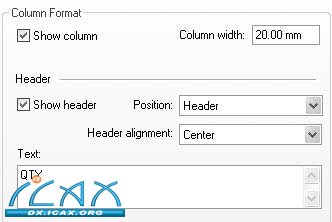
点击OK(确定)。
| 

