创建基于轮廓的特征 (二)
将光标移至窗口的右下方,点击鼠标确定新的平行参考平面的位置。
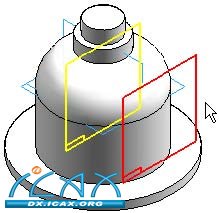
选择Fit(适合窗口)命
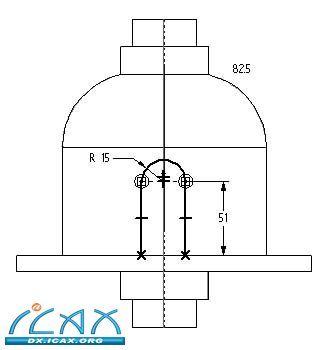
在Draw(绘图)组中,使用Line(线段)命令绘制图示轮廓。按照下图所示的尺寸值和关系绘制轮廓。注意垂直参考平面中点与轮廓圆弧圆心之间的垂直关系。
注:
在使用线段命令时,按A键或点击带状工具条上的圆弧选项,进入圆弧模式。添加圆弧之后,命令返回线段模式。在圆弧模式中,注意添加圆弧时可使用的意向区。
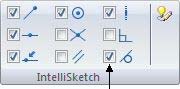
开启IntelliSketch(智能草图)中的Tangent(相切)选项。在添加圆弧时将应用相切关系。
选择Close Sketch(关闭草图)。
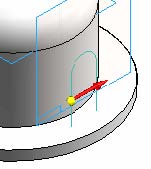
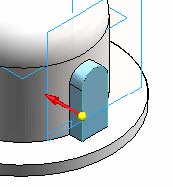
移动光标,使箭头指向如图所示,然后点击鼠标。由此可在轮廓的内部添加材料。
注:
注意带状工具条上的侧面步骤。在使用开放的轮廓时,必须指定添加材料的轮廓侧面
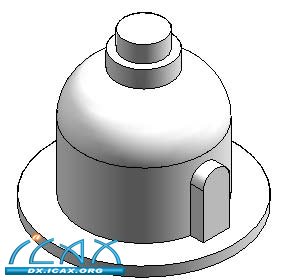
在命令栏中点击Through Next(贯通下一个对象)。
移动光标,使箭头指向如图所示,然后点击鼠标。
点击Finish(完成),完成拉伸特征的构造。
| 

