创建基于轮廓的特征(四)
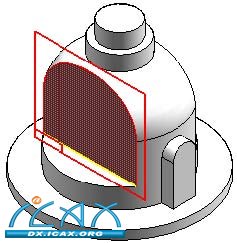
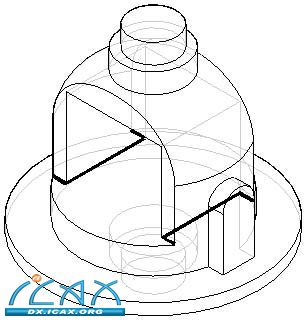
第7步:使用封闭的轮廓从零件中间除料。
选择Cut(除料)命令
选择如图所示的参考平面。
绘制轮廓。将顶部线段的中点连接到垂直参考平面(A)。
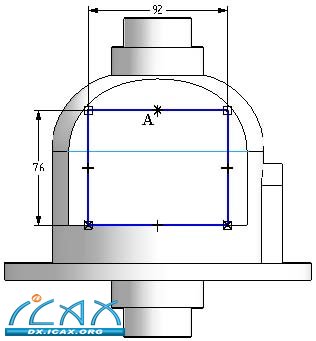
点击Close Sketch(关闭草图)。
点击Through All(贯通全部对象)拉伸选项。按照图示放置箭头,在两个方向上除料。
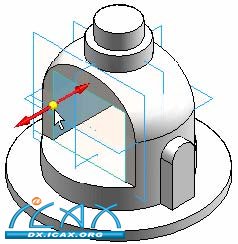
点击Finish(完成)。
保存文件。
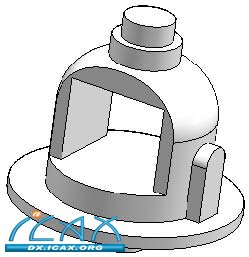
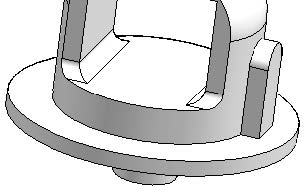
8步:对除料特征的边缘倒圆。
注:
"处理特征"一课中将介绍倒圆功能。此时适合在零件上添加倒圆特征。
在Solids(实体)组中,选择Round(倒圆)命令。
选择如图所示的六条边缘。
输入10作为半径,然后点击Accept(确定)按钮。
点击Preview(预览),然后点击Finish(完成)。
点击Preview(预览),然后点击Finish(完成)。
| 

